
This document provides guidelines for correctly using the design elements of the Kakao Sync login button and Kakao Sync marketing tools required for the Kakao Sync service.
This section explains how to correctly apply the Kakao Sync login button to a service that has adopted Kakao Sync. You can use this button on signup pages, login pages, or integrated signup and login pages of a service that applies Kakao Sync.
The label of the standard Kakao Sync login button consists of "with Kakao", which represents the tool, and "Start", which represents the action. Depending on the environment and purpose of the button, you can use the simple version, "Start", which specifies only the action.
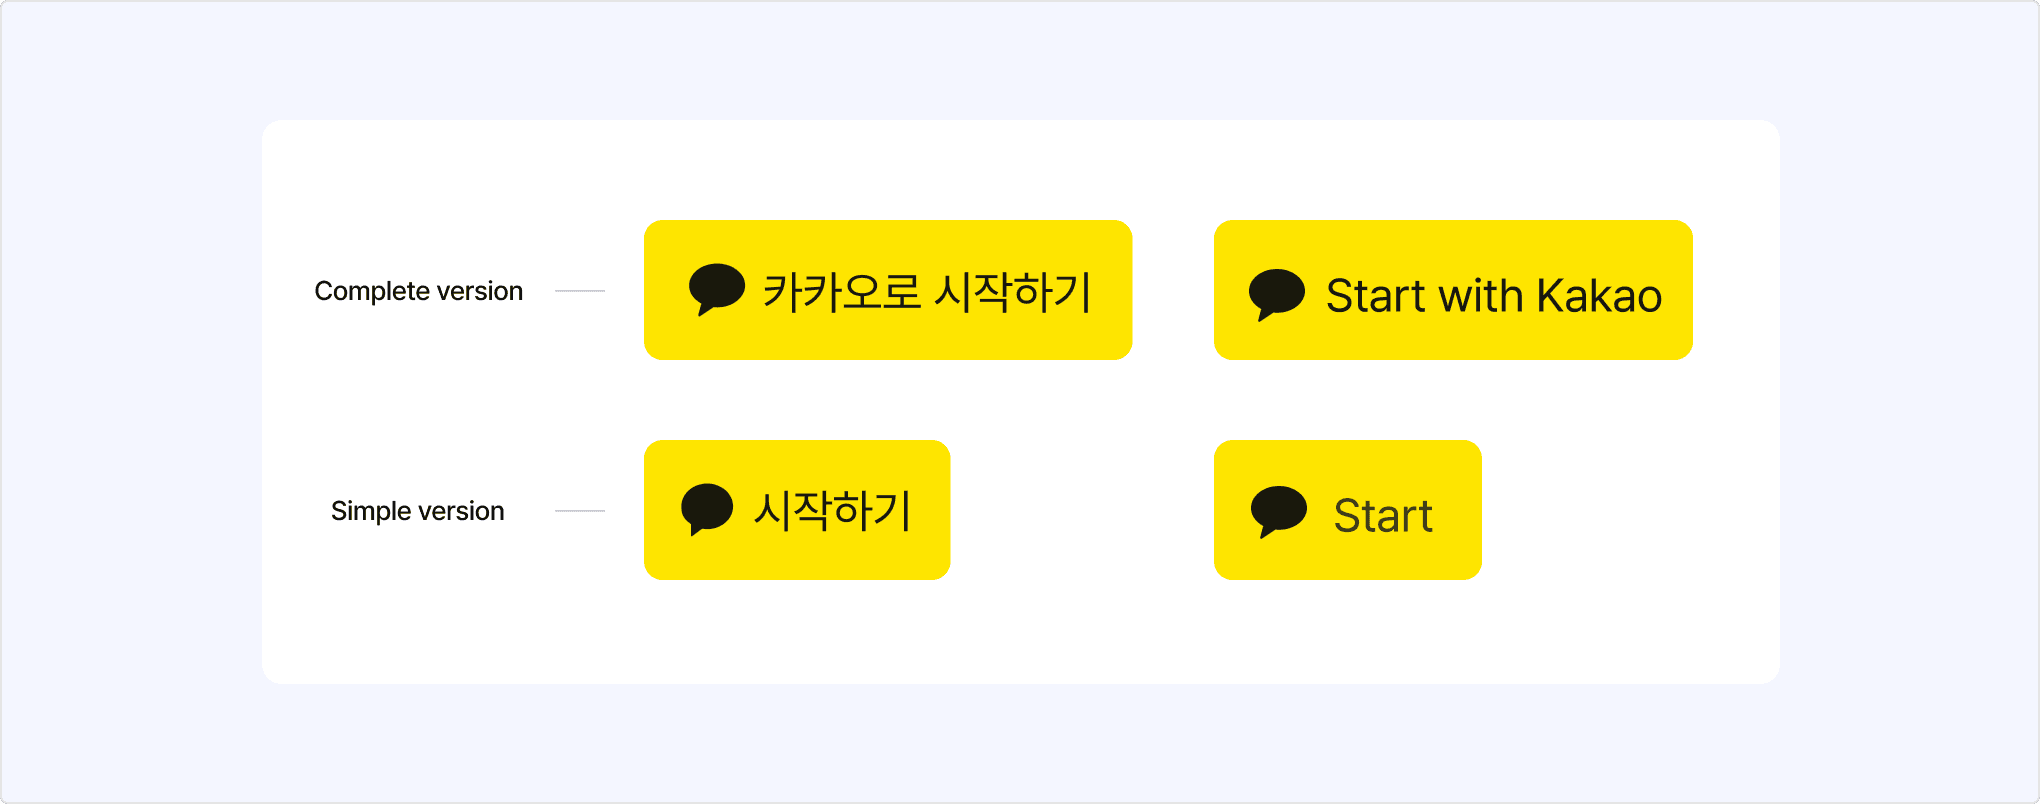
Kakao provides the standard Kakao Sync login buttons with the recommended size and aspect ratio. You can download the buttons from [Tools] > [Resource Download] > [Kakao Sync] > [Login]. The button images are provided as PNG and PSD files. If you need to customize the button for your service environment, select [Download all(.zip)] to download and edit the original PSD files.
The Kakao Sync login button consists of a chat bubble-shaped symbol representing Kakao, a label that describes the button action, and a container that wraps the symbol and label.

It is recommended to use the standard buttons provided by Kakao. However, if you need to adjust the Kakao Sync login button for your service UI or UX, you must comply with the design guidelines below. Please note that using colors or formats that do not comply with these guidelines can harm the Kakao Sync identity and cause confusion.
| Component | Color |
|---|---|
| Container | #FEE500 |
| Symbol | #000000, 90% |
| Label | #191919 |
- Do not use colors other than the designated colors above.
- Do not highlight another company's login button by leaving the Kakao Sync login button uncolored.

- Use the chat bubble-shaped symbol representing Kakao as the default.
- Do not change the shape, ratio, or color of the symbol.
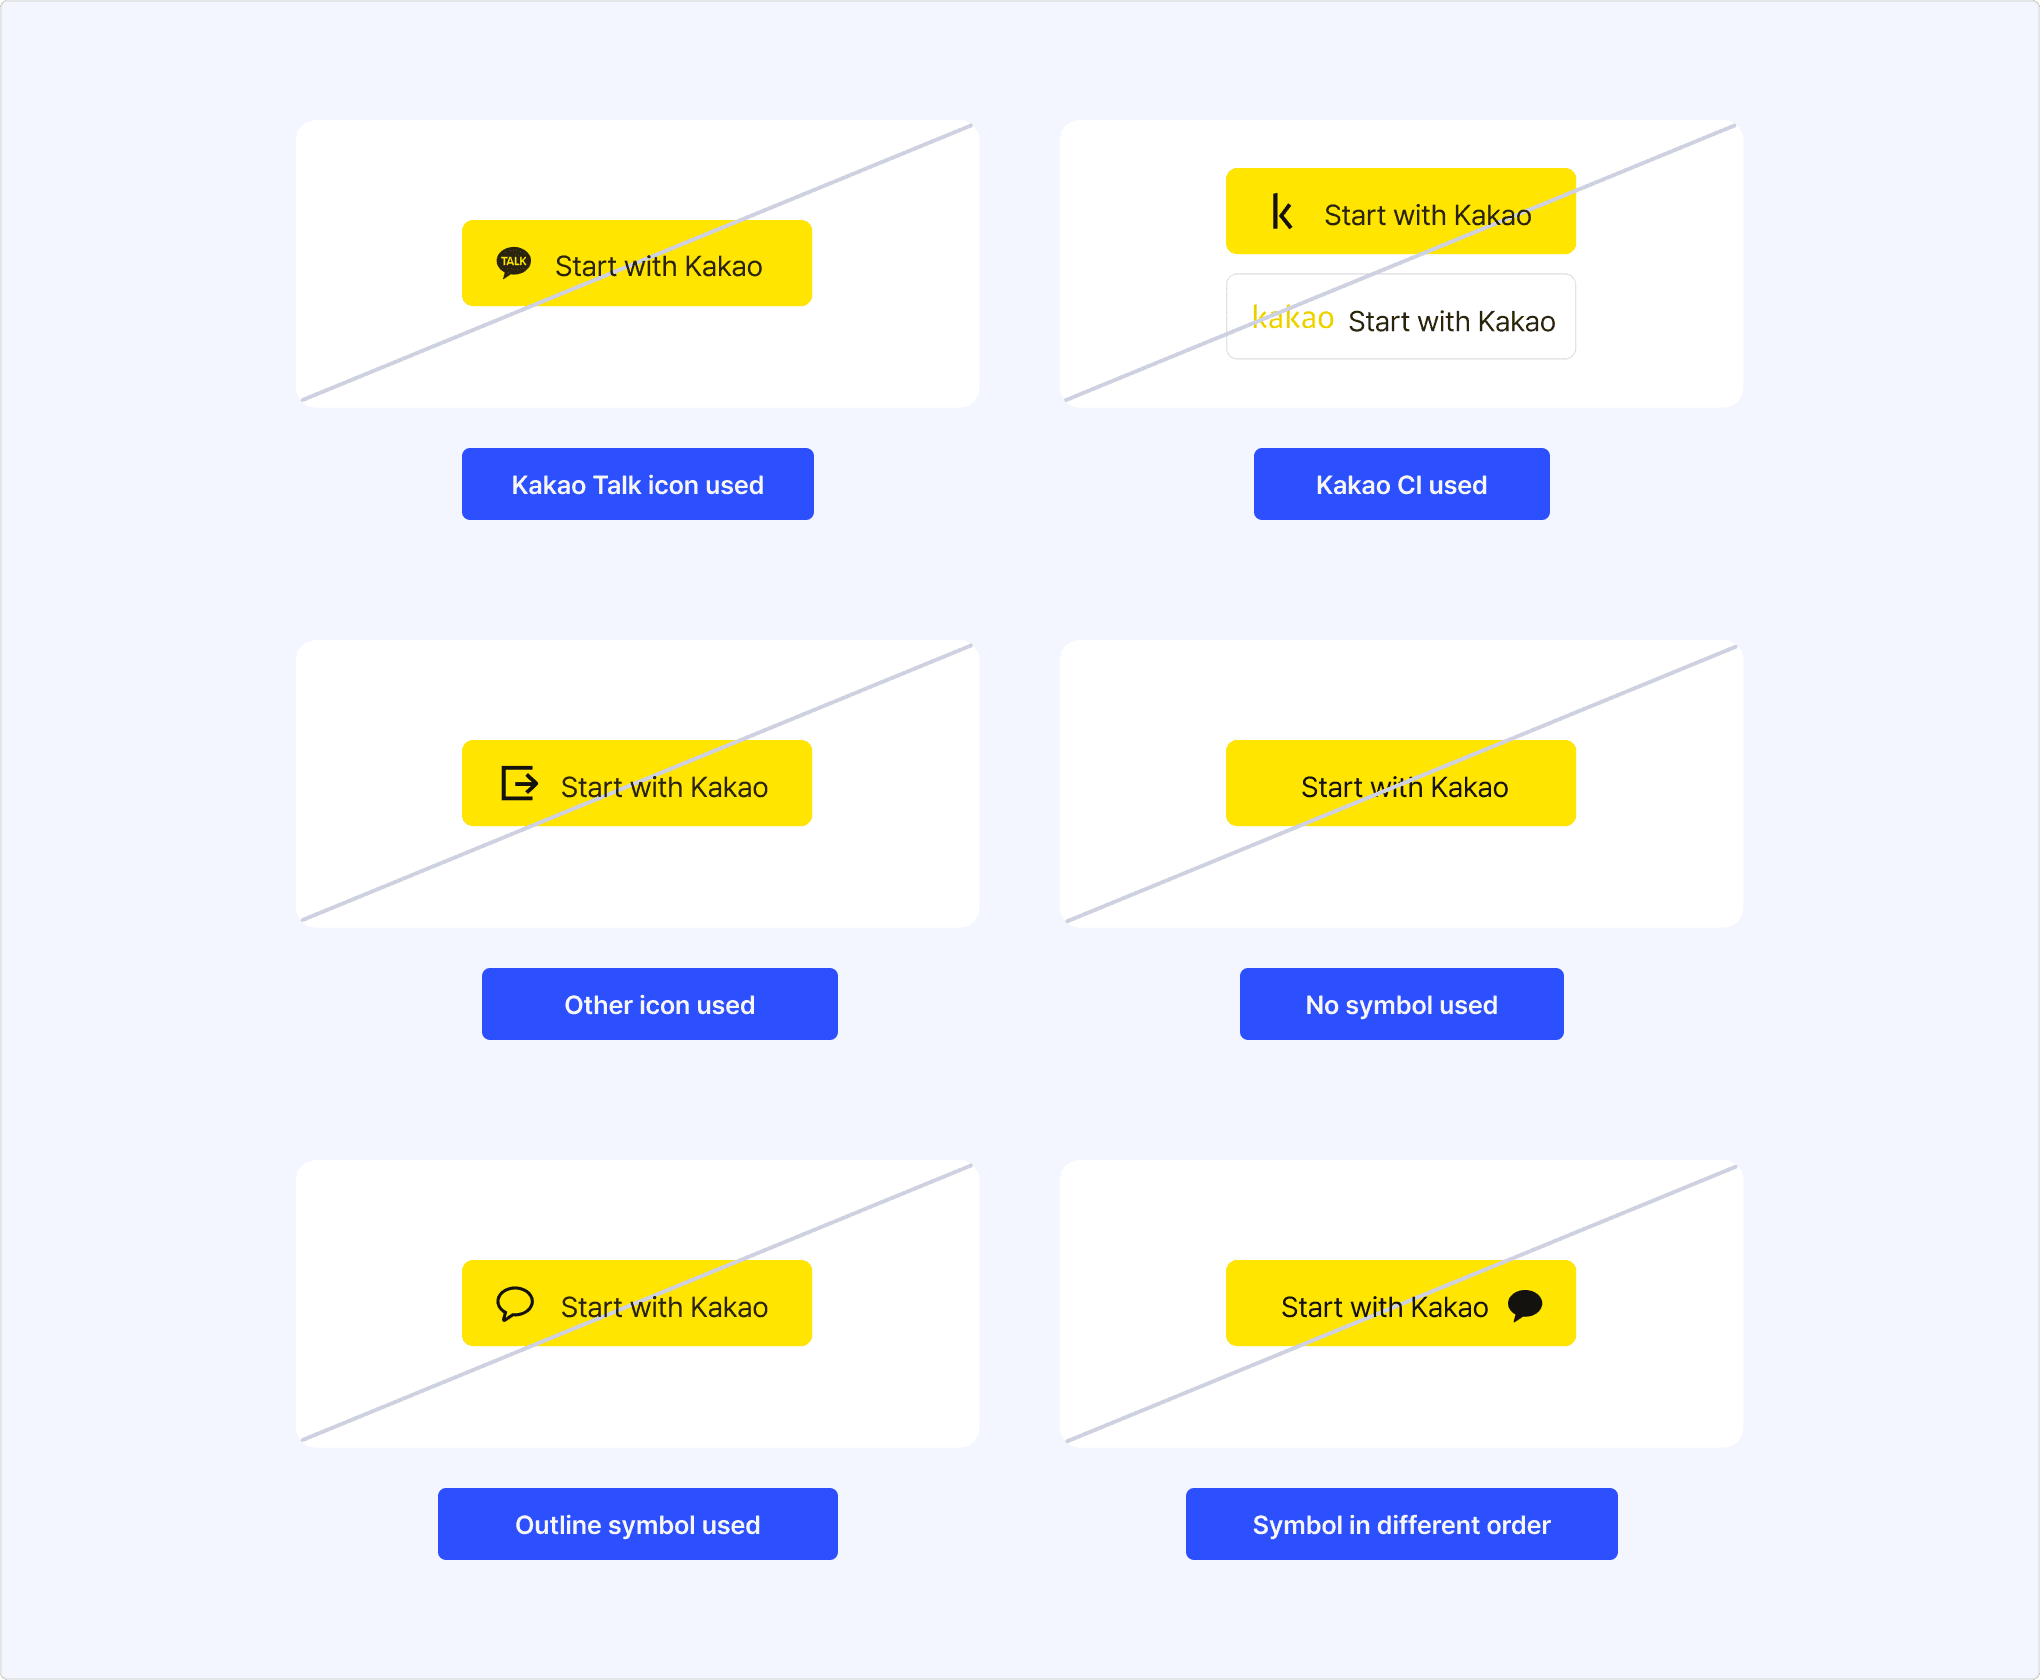
- Do not use the KakaoTalk symbol or Kakao CI as the symbol.
- Do not use a feature icon as the symbol of the Kakao Sync login button.
- Do not configure the Kakao Sync login button without the symbol.
- Do not use an outline-only symbol.
- Do not change the direction of the symbol arbitrarily.
- The symbol must have the same visual weight as symbols in other companies' login buttons.
- Use the default system font for each OS with a font size of #30 points (Sp/Dp) for the label.
- You can use either a complete or simple version for the default label as follows:
| Korean | English | |
|---|---|---|
| Complete version | 카카오로 시작하기 | Start with Kakao |
| Simple version | 시작하기 | Start |
- Do not use labels other than the complete and simple versions.

- Set the corner radius to 6 dp (12 pixels) for the container box.
- Do not highlight another company's button by using a different size for the Kakao Sync login button.


- Extend the container equally to the left and right while maintaining the vertical ratio within the fixed area.
- Left-align the symbol, or center-align the symbol with the label.
- Do not change the kerning or size of the label.

- If you need to increase the overall size of the button:
- Scale up the symbol and label in proportion to the container size.
- The height of the label should not exceed 1/3 of the height of the container.
- If you need a button smaller than the standard button:
- Use the simple version, the [Start] button, rather than forcefully adjusting the aspect ratio.
This section explains what you need when creating a marketing tool that encourages easy signup with Kakao Sync. Each component must not be modified arbitrarily, and you must create the marketing tool by following the guidelines below.
You can download the Kakao Sync marketing tool files from [Tools] > [Resource Download] > [Kakao Sync] > [Marketing Tools]. Kakao provides a basic poster-type AI file and a compressed file of AI files by type.
The Kakao Sync marketing tool consists of a 'Logo' area that combines the partner's and KakaoTalk's logos, a 'QR code' area, a 'Marketing message' area, and a 'Process' description area.

The logo consists of a combination of the service's logo and the KakaoTalk logo, and it is used as an important element for recognizing the brand image.

- Place the logo in the center of the logo area of the poster, referring to the margin example above.

- To increase the visibility and recognition rate of the QR code, secure white margins inside the QR code area when applying the QR code.
- You can scale the QR code up or down depending on the environment of the area where it is applied, or apply it flexibly to various background colors.
The marketing message that encourages easy signup can be used in a simple version (Type A) and an extended version (Type B).

- If you cannot display the service's logo due to space constraints, use the extended version to also present the service's brand name.
- The format applied to the message is as follows:
| Format | Value |
|---|---|
| Font | Noto Sans C JK KR |
| Property | Bold |
| Kerning | -15 |
| Color | C0 M0 Y0 K100, PANTONE Solid Neutral Black C (or U) |
The process description area, which explains the KakaoTalk easy signup method in an easy-to-understand way, can be used in two types: text and icon.

- Place the process description in the center of the process area of the poster, referring to the margin example above.
- You can scale it up or down depending on the environment of the area where it is applied, or apply it flexibly to various background colors.

The following is an example of a marketing tool created in compliance with the guidelines described above.
